Did you know that you can create an interactive form in Microsoft Word? To do this, you’ll need to use the “Developer” tab. And in this post, we’re looking at how to add this tab to the main ribbon in Microsoft Word, plus a few key controls you can use to make a fillable form.
Fillable forms are perfect for collating standardized information. And to create one in Microsoft Word, you’ll need to add the developer tab:
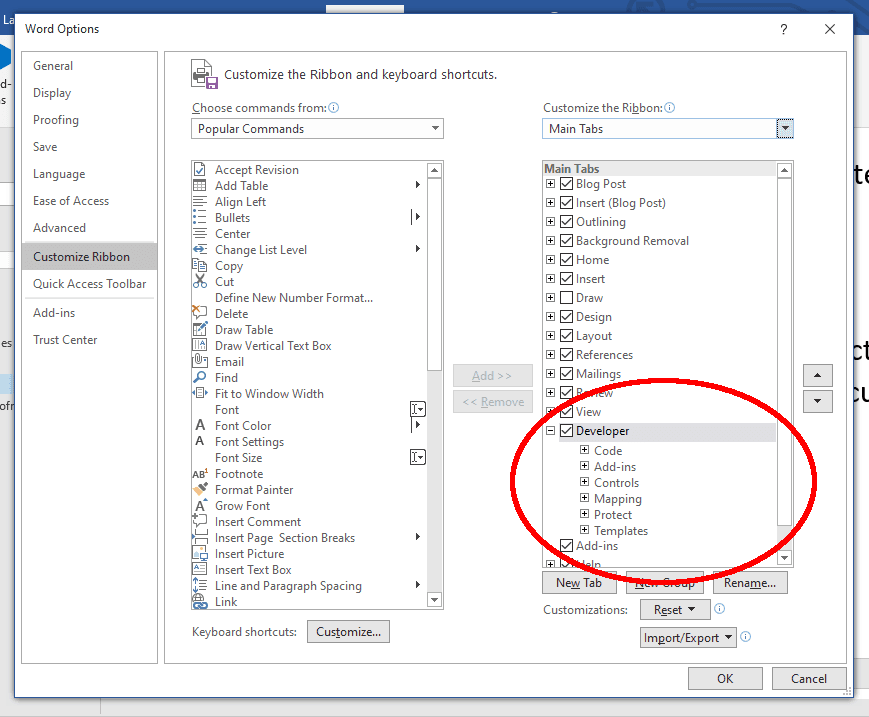
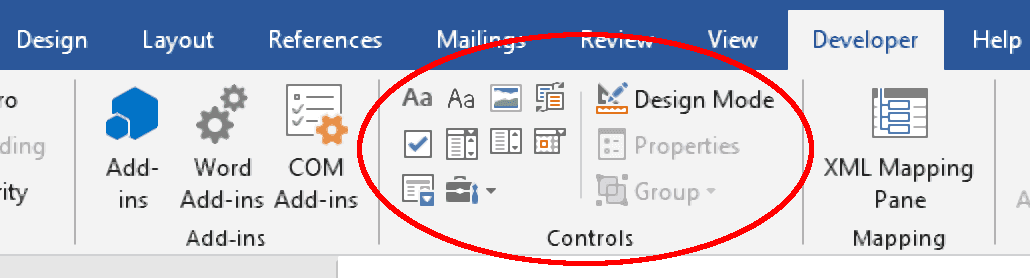
When you select this tab, you’ll see a variety of options, including for macros and add-ins. Here, though, we’re going to focus on five key tools:
 options on the Developer tab." width="581" height="157" />
Read on below to find out how each of these controls works.
Text boxes allow a user to type their own responses, so they’re most useful for fields with a wide range of possible answers (e.g., names, addresses).
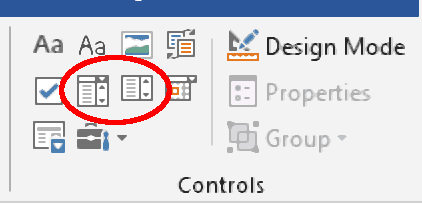
You have two options for adding a text box via the Developer tab: Rich Text Content Control and Plain Text Content Control. The rich text version will let the user format individual words or characters in their response, but the plain text option will be adequate in most cases.
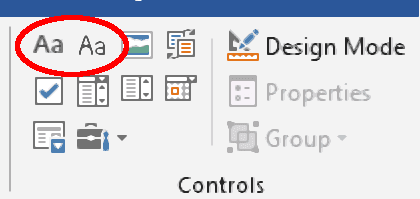
In either case, clicking these buttons will add a default text box.
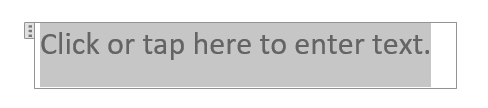
To customize the default text, click Design Mode in the Developer tab. This will let you type your own instructions in text boxes. And when you’re finished customizing the text box, deselect Design Mode to exit.
For more customization, you can also select the text box you want to edit, then click Properties in the Developer tab. Here, you can:
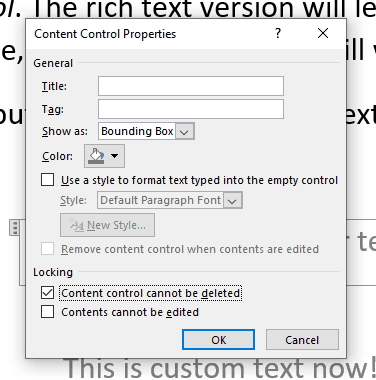
You’ll be able to do the above for all the following controls, too.
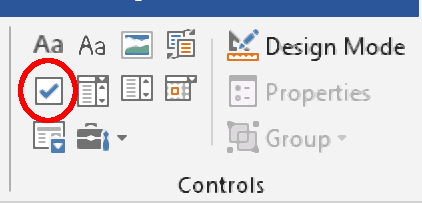
To add a check box, click the Check Box Content Control option.
You can then add text before or after the check box to label it on the form.

As well as the standard options noted for text boxes above, if you click Properties after selecting a check box, you will be able to customize the image used for the “Checked” and “Unchecked” symbols.
For fields with a limited set of options, use a dropdown list. To do this:
This will add a default dropdown list in the place selected, as shown below.